Export Table to CSV File – step by step
-
Posted on August 5, 2015 by Derek Dieter
-
1
A very common requirement with SQL Server is to export a table to a csv file. It’s actually an easy task when using SQL Server Management Studio (SSMS). The export method actually behind the scenes uses SSIS wizard which also gives you an option to save the package that performs the export, however saving the package is often not necessary. The permissions you need to perform this, are merely read permissions on the table.
Here are the steps broken out in detail.
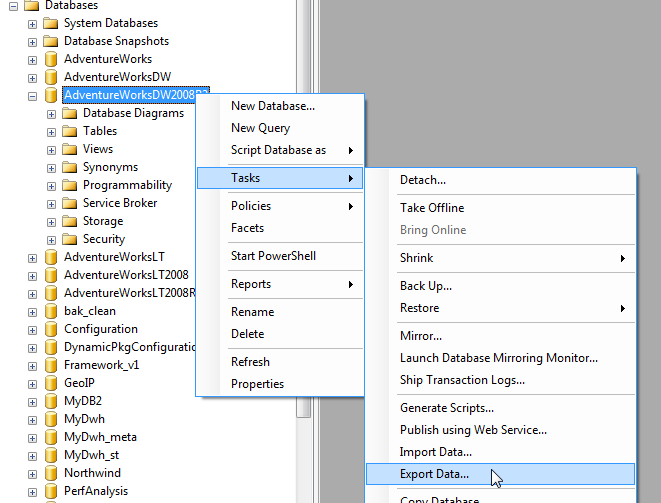
Right-click on the database that contains the table and choose tasks -> Export Data…
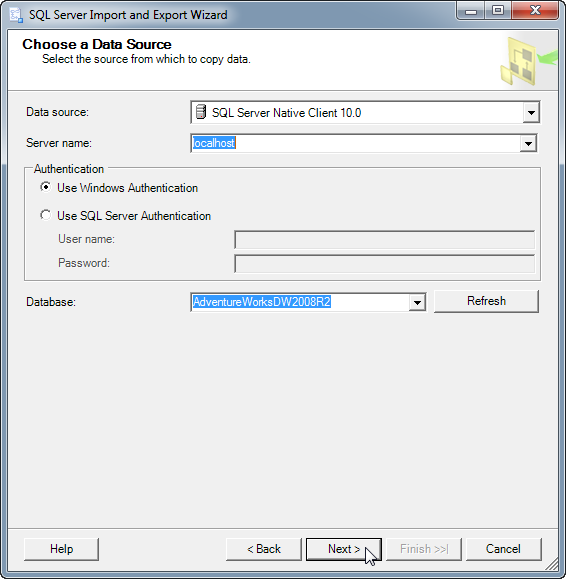
Click next past the intro screen and on the “Choose a Data Source Screen” make sure the database that contains your table is listed in the drop down. Then Select Next.
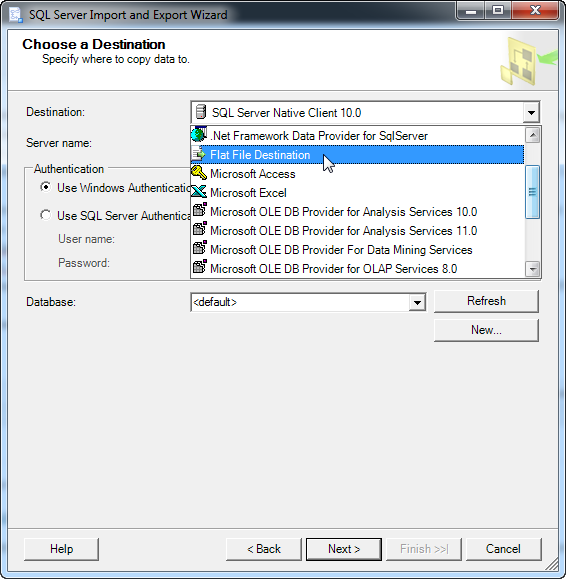
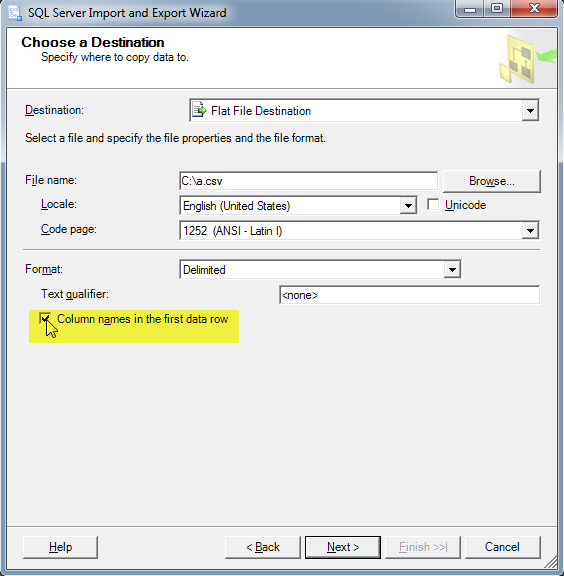
On the “Choose a Destination” Window, select “Flat File Destination” in the top drop down box labeled “Destination”.
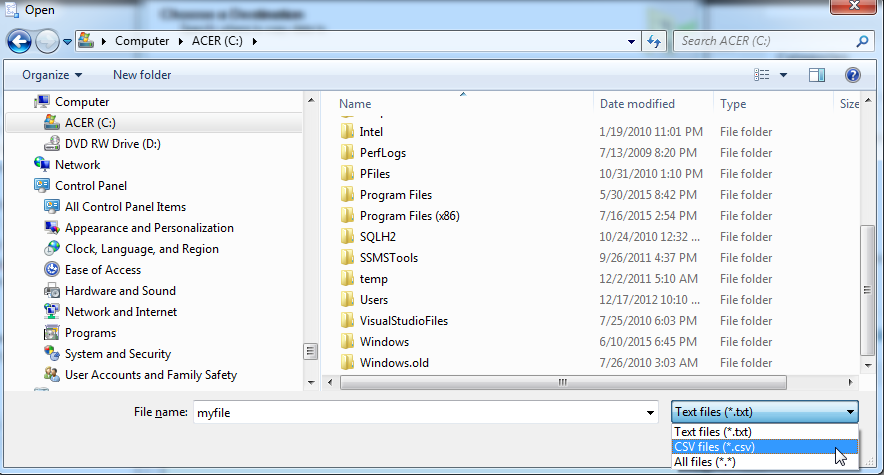
On the same “Choose a Destination” Window, click the “Browse” button and the Open file dialog box appears prompting you to find a location for your file. Find the location, then type in the file name. THEN to the right of the file name text box, change the drop down from “Text Files (*.txt)” to “CSV Files (*.csv)” As shown below.
While still on the same “Choose a Destination” window, select whether you want the column names to be included in the CSV by selecting the “Column names in first data row” check box. Then Select Next.
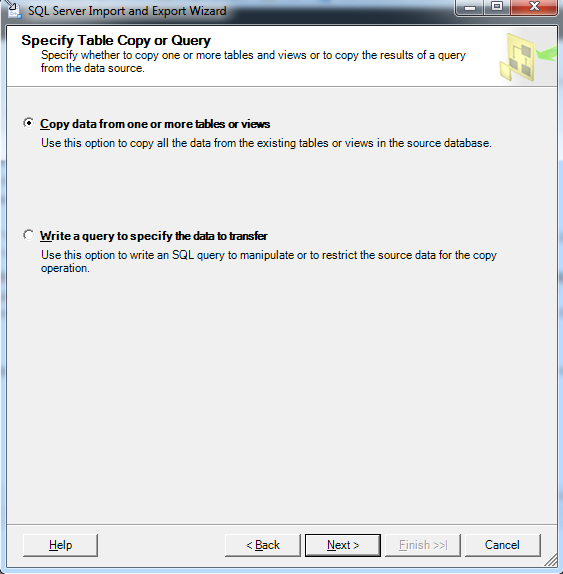
On the “Specify Table Copy or Query” window make sure “Copy data from one or more tables or views” is selected then click Next.
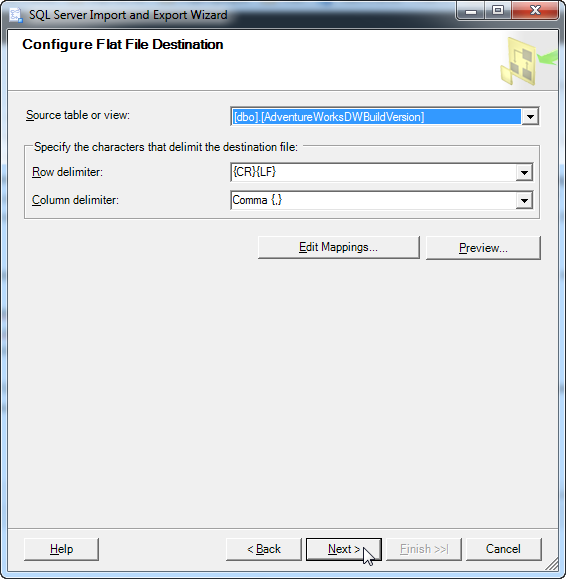
On the “Configure Flat File Destination” window, select your source table or view. Leave the Row delimiter and column delimiter as the default then click Next.
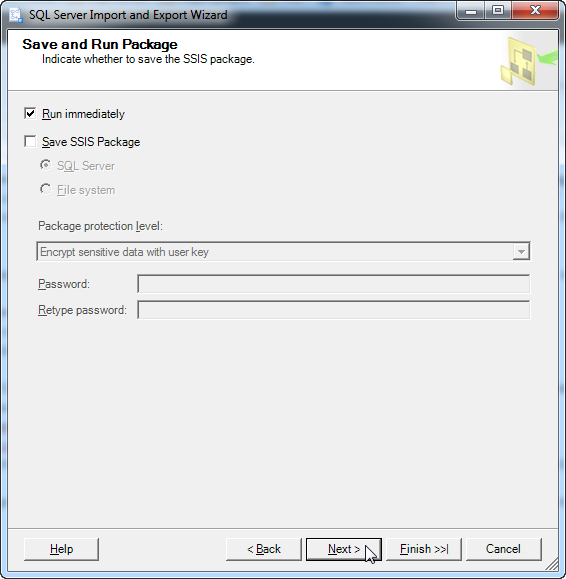
The “Save and run package” window now appears. Make sure “Run immediately” is selected then click Next.
Finally the “Complete the wizard” window appears. The details with show “Copy rows from [your table] to [your csv location]. If this is correct, click “Finish”.

The execution actions will now be displayed along with the status of the export. If it finishes successfully, you will see the following screen.
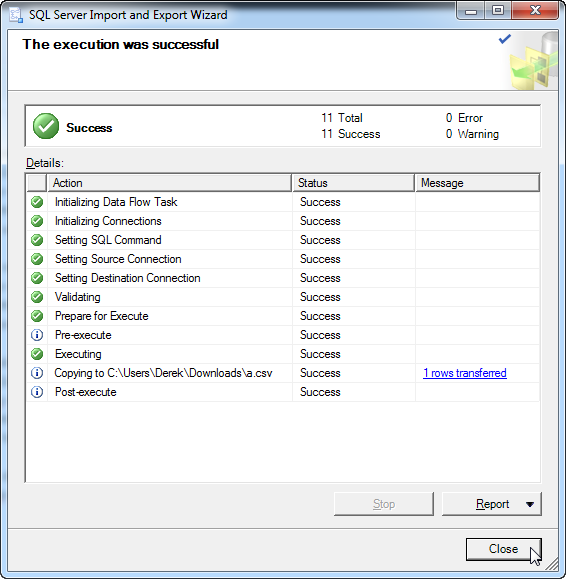
That’s it! If your execution was not successful, check to see what the error messages say. Make sure you have access to the file location where you want to write the CSV file to. Good luck!
Post a comment
- Comments (RSS)
- Trackback
- Permalink